Have you ever wondered if there was a way you could tell how your dog is feeling? What if I told you that there was a way to do this visually (sort of) using machine learning image classifers.
Here is a demo of the application that you can load on your phone or computer and run to detect if your dog is happy or sad.
Table of Contents
Tools Required
- Python 3
- Tensorflow
- Numpy
- BeautifulSoup
- Tensorflow Hub
- UrlLib
- NodeJS
- React
Gather Images
Data Bias

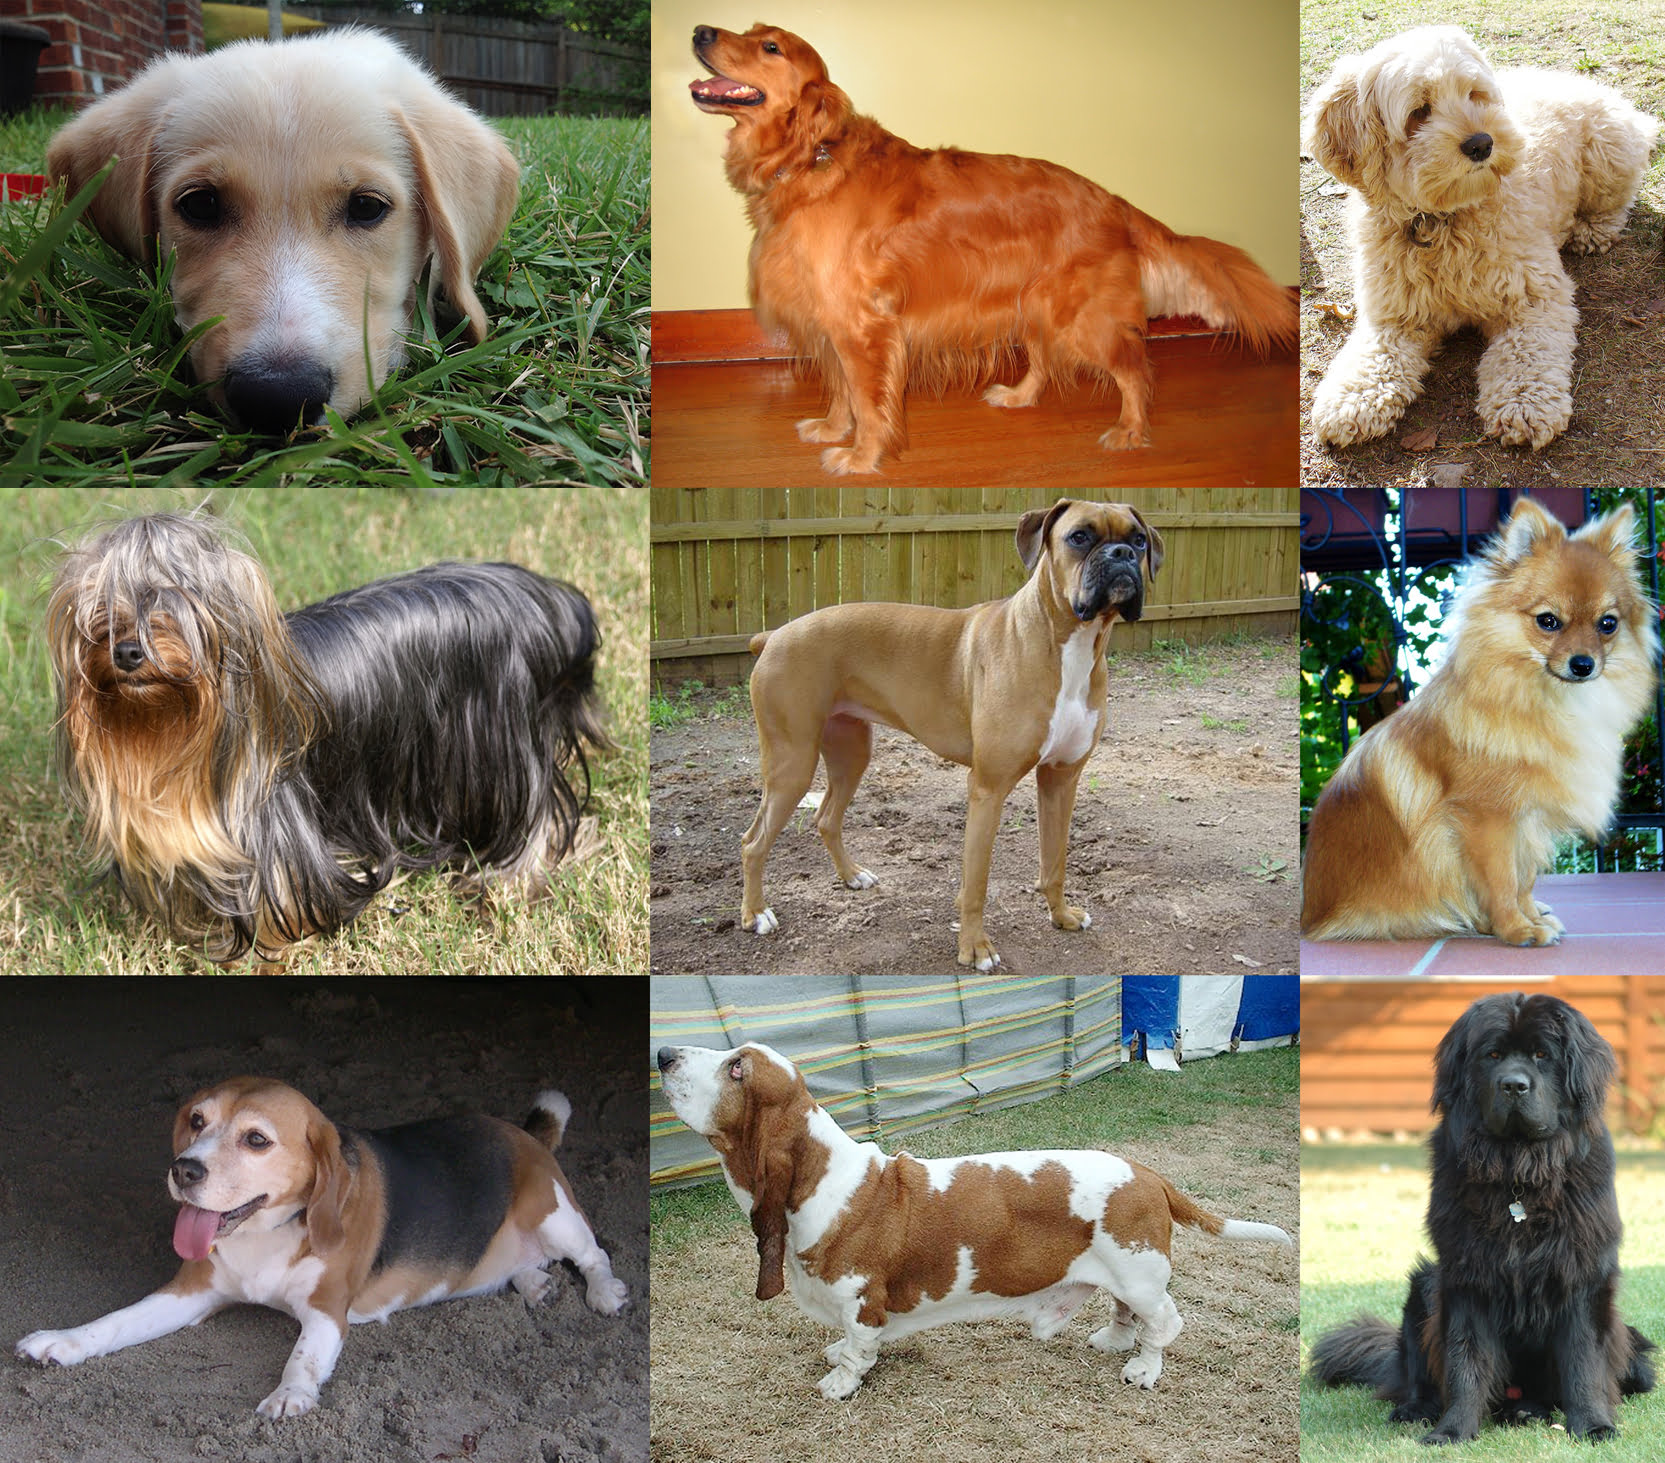
The first step is to gather as many images as you can of various dogs representing different breeds, different angles, and different backgrounds. This is to make sure that your classification model is as diverse as possible and avoids any biases. You want to make sure that you are representing edge cases but being specific enough that each image represents the mood you want to classify. These methods aren’t scientific but I noticed some issues with inaccuracy because I used a small sample size. In a real-world example, there was some negative press about data scientists that were putting together models that didn’t take into account skin color leading to some issues as seen here.
Data Scraping

For my model, I used a python script described in the following gist with some modifications to make sure I was only looking for safe images and I could also filter for images that are open for reuse from a licensing perspective. Unfortunately, this script no longer works because google removed any metadata that they used to provide in their search engine presumably to prevent people from scraping their images. The script below errors out when the soup library attempts to find divs with the “rg_meta” class and fails to find any!
def extract_images_from_soup(soup):
    image_elements = soup.find_all("div", {"class": "rg_meta"})
    metadata_dicts = (json.loads(e.text) for e in image_elements)
    link_type_records = ((d["ou"], d["ity"]) for d in metadata_dicts)
    return link_type_records
Anyways, once you have images, create a folder for each “class” you want. In my case, I had a “happy” and “sad” folder in which I put my images.
Note: I am still looking for alternative methods for sourcing images for model building purposes and if anyone knows how, please let me know!
Run Training

For building my model, I was very new to the world of machine learning so I decided to build off of a pre-built model and add extra layers on top of an existing model. Additionally, I was working off of a personal machine that doesn’t have as much computing power to build a model in a short period of time. I started following this tutorial which uses an antiquated Inception-V3 model and shows you how to train on top of that.
https://github.com/tensorflow/models/blob/master/research/inception/README.md
Skip down to the “How to fine tune a pre-trained-model-on-a-new-task“. Here you will find an example on how to take the Inception-V-3 model and train it to identify different types of flowers. Follow the instructions in the tutorial to gain an understanding of what you are doing, then start over again with your own classes and images that you gathered from before. I do want to note that you are better off training off of MobileNetV2 which is more efficient at classification tasks and was built to run on portable devices if your intent is to run the model on a phone as mine was. This may be a future project for me.
Tensorflow used to provide a tutorial and code for retraining models which I can no longer find on GitHub but the following script closely resembles the retrain.py script that I found previously. The script essentially allows you to provide an image folder with the folder name as the class name and retrain and add additional layers on top of a preexisting model.
With this script, you can tweak the graph as you see fit until the accuracy of the classification suits your needs. For simplicity’s sake, the below will use default settings. I personally tweaked the training size and the test sizes because I had such a small number of images to begin with.
python retrain.py -image_dir=.\dataset Once you have run the training which can take several hours or more depending on the amount of data you have, you should see a “tmp” folder in the directory you ran the script in. This contains the old Frozen Graph model with the associated labels that you will need to convert for the web application.
Model Results
How do you make sure that the model has come out correctly? Well, you can do some testing your self by finding some random images of dogs that weren’t in your original training or validation data set and placing them in a folder. Then run this script which TensorFlow used to provide but was moved to a different example location. It will print out and classify your new images. It works by loading the model you generated earlier, then loading in your new images, converting them to the dimensions that the model expects as input and then takes the results of the model, and pairs them with the output labels and displays the class and the probability of the image being that class. Script found here.
Converting to TFJS Graph
Now we want to use this in a web application. Well, the model is generated using python so how do we go about doing that? Well, at the time I was working on this, Tensorflow JS had not progressed to where it is at now so I had found a library called TFServe which essentially wraps an HTTP API around your model. It will allow you to serve your model as a service. This worked but not that well because I wanted the model to work in near real-time and didn’t want a user to upload an image, wait for the image to upload, have the server process the image (run through the model), and then wait for the results to come back. So in order to use this model in the browser in realtime, the model needs to be converted into the Tensorflow JS Graph Model which can be done using the TensorflowJS Converter. Once you have installed, run the script as such. Note, the output_node_name must match your retrained model which by default is final_result if you check the retrain.py script.
tensorflowjs_converter \
    --input_format=tf_frozen_model \
    --output_node_names='final_result' \
    /tmp/output_graph.pb \
    /web_model
This will create a model.json file and several “shard” files that represent the model in the “web_model” folder. Now we can access this via Tensorflow’s Javascript API!
Building React Application
Create your initial react application using create-react-app and install the appropriate dependencies and start the application
npx create-react-app my-app
yarn add @tensorflow/tfjs
or
npm install @tensorflow/tfjs
yarn start
or
npm start
If everything went correctly you should see your usual starter react application.
Now open up App.js and delete the default react app code under return (or don’t it’s up to you how you want to visually represent everything). At the top of the file, we need to import TensorflowJS and a couple of react hooks for maintaining state and loading the model up prior to rendering our device camera.
import * as tf from '@tensorflow/tfjs'
import React, {useEffect, useState} from 'react';
Now inside our application, we need to connect the webcam or phone camera to a video feed so that we can extract the image and send it to our model. However, the image isn’t directly accessible through say an <video> element. The image must be drawn to an <canvas> element before we have access to the raw image data. We also need to asynchronously load the model data. We also need to make sure that we are doing all of this prep work only once and not every time the component re-renders (such as when state is set).
  let videoElement = React.useRef();
  let canvasElement = React.useRef();
  const [isVideoLoading, setIsVideoLoading] = useState(true);
  const [isTensorflowReady, setIsTensorflowReady] = useState(false);
  const [isModelReady, setIsModelReady] = useState(false);
  const [predictions, setPredictions] = useState([]);
  let model;
  useEffect(()=>{
    async function doWork() {
    await tf.ready();
    setIsTensorflowReady(true);
     model = await tf.loadGraphModel(window.location.origin+"/model/model.json");
    setIsModelReady(true);
    navigator.mediaDevices
    .getUserMedia({video:{facingMode: 'environment'}})
    .then(stream => {
      const video = videoElement.current;
      video.srcObject = stream;
      video.setAttribute('playsinline',true);
      video.play();
      requestAnimationFrame(tick);
    });
  }
  doWork();
  },[]);
Notice requestAnimationFrame(tick). This is calling a function every time the browser repaints the screen. This function draws the video stream frame to a canvas element on the page, gets the raw ImageData which then provides us with UInt8bitclamped pixel data which we can then cajole into proper input data for our model. Here is what the tick function looks like
  function tick() {
    const video = videoElement.current;
    const checkVideoState = setInterval( async ()=> {
      if(video.readyState === video.HAVE_ENOUGH_DATA) {
        clearInterval(checkVideoState);
        setIsVideoLoading(false);
        const canvasElementc = canvasElement.current;
        const canvas = canvasElementc.getContext("2d");

        canvasElementc.height = video.videoHeight;
        canvasElementc.width = video.videoWidth;
        canvas.drawImage(
          video,
          0,
          0,
          canvasElementc.width,
          canvasElementc.height
        )
        let imageData = canvas.getImageData(0,0,canvasElementc.width,canvasElementc.height);
        let results;
        if(imageData != undefined )
          {tf.engine().startScope();
            results = await model.execute(encode(imageData));
              setPredictions(decode(results));
              tf.engine().endScope();

          }
        imageData = null;
        results = null;
        requestAnimationFrame(tick);
      }
    }, 100)
  }
There are several things to note here encode will covert our image into the proper Tensor format that the model expects and decode will take the values returned from the model and convert them from Tensor format to array. Notice tf.engine().startScope() and endScope()? Those are called so that Tensors are properly disposed of. Without it, I noticed that the applications’s memory usage would reach gigabyte numbers!
Remember the model results section above? That script required one to change the image data so that the model would properly interpret the input. See the function read_tensor_from_image_file in the label_image.py script. I took this and converted it into using the TensorflowJS API and made sure that I returned “Placeholder” as the input name which is used as the default input name in retrain.py script. The decode portion is essentially converting the Tensor into an array and assigning probability values to the appropriate index which is similar to assigning labels in the label_image.py script earlier.
  function encode(imageData) {
    let image = tf.browser.fromPixels(imageData)
    let float_caster = tf.cast(image, "float32");
    let dims_expander = tf.expandDims(float_caster, 0);
    let resized = tf.image.resizeBilinear(dims_expander, [299, 299]);
    let normalized = tf.div(tf.sub(resized, 0), 255);
    return {"Placeholder": normalized}
  }
function decode(outputTensor) {
let data = outputTensor.dataSync();
return [{className: "Happy", probability: data[0]},{className: "Sad", probability: data[1]}]
}In our returned jsx we essentially have a video element, a canvas element, and a section for displaying loading messages and the results from the model.
    return (

      <div className="App">
        <video id="video" width="640" height="480" className="cameraFrame" autoPlay={true}
        ref={videoElement} style={{display: "none"}}></video>
        <div className="content">
          {!isVideoLoading && <canvas id="canvas" width="640" height="480" className="photoCard" ref={canvasElement} />}
          <div className="status">
            {(isVideoLoading && !isModelReady) && <div>Please wait while we load the video stream and the data model.</div>}
            {!isTensorflowReady && <div>Please wait while we load Tensorflow</div>}
            {(!isVideoLoading && isModelReady) && <div>{predictions.map((prediction)=> {
              return <div>{Math.round(prediction.probability*100)}% {prediction.className}</div>
            })}</div>}
          </div>
        </div>
      </div>
    );
Conclusion
So as you can see, we now have a web application that uses a machine learning model to “predict” your dog’s emotion in near realtime. The example or sample that I have created only touches the surface of what is possible as I have only classified two emotions and used an extremely small sample size for training. With the progression of TensorflowJS, it is now possible to train in realtime different expressions on your dog’s face and customize it for your own dog. In the future, once I determine a better method to source images, I plan on adding more emotions to the model using more current versions of Tensorflow.
You might have noticed that on both mobile and desktop devices there is a bit of a delay. This delay is expected because of the complexity of the model that I’m using and the fact that it’s running in a browser using native javascript. I could have also used alternatives approaches to render the video, like using an interval vs using requestAnimationFrame or an asynchronous function with a delay. I initially approached this application using expo and building it out in react-native but ran into file access limitations. I may try this approach again in the future without the use of Expo using pure react-native to see if there are any performance improvements if I don’t run into limitations.
I chose to learn about machine learning image classification using images of dogs because they tend to be very expressive creatures even through facial expressions, unlike cats which tend to use their entire body language. I also see some future applications of applying this type of technology to pet monitoring solutions that could tell you how your pet is doing and alert you if something is wrong. Veterinarians could possibly use this information to better diagnose their canine patients.
Side Note: I have not yet tested this on an actual dog as I do not have access to one. Please let me know how it does. I anticipate that it won’t perform well due to the small sample size I used.
References
This reference greatly helped me understand how to convert the image into something the model could understand: https://medium.com/@hideyuki/how-do-you-classify-an-image-against-a-frozen-tensorflow-model-code-walk-through-of-9792a74f6ef9
This article goes more in-depth into how the retraining process works conceptually: https://medium.com/@hideyuki/transfer-learning-how-to-leverage-a-pre-trained-model-to-speed-up-training-for-machine-learning-4b762b9c20c1
Leave a Reply