A little while back, I started looking into NFT’s and started learning about generative art. Generative art is produced utilizing an algorithm or something that can be mechanically created. If you look through the majority of the highest-selling NFT’s on https://opensea.io/, you’ll find that a lot of them are basically permutations of a base portrait. There are some base components that are reused and then changed slightly. Creating these can be programmed. What I didn’t see much of on the website was art produced by deep learning algorithms.
I started out by searching for what exists out there. The most common form of unsupervised learning for creating things is called a Generative Adversarial Network. This typically consists of a generator and a discriminator that are both trained on data. The generator creates something random and the discriminator is trained on “discriminating” what is correct and what is incorrect. Then the output of the generator is sent to the discriminator which tells the generator how “wrong” the output is and the weights of the generator model adjust accordingly. This is repeated again and again and runs through a loss function until a threshold of how “correct” the output of the generator is met. For efficiency’s sake, the discriminator can also be trained at the same time on the actual data so that the generator will produce the desired result. So you’re essentially training a discriminator so it can validate different kinds of data and then the generator tries to reproduce that data.
If you apply this to art, for example, you can then train the discriminator to validate certain kinds of images, and then the generator can be tuned to produce similar kinds of images.
This article goes more into detail on how it all works and goes on to produce art that matches different artists’ styles. I wanted to see if I could utilize this to produce completely new art utilizing photographs that I’ve taken on my own.
I found a variety of codebases that would let me do this that I tweaked to fit my own preferences.
I started by learning how it works through Google’s Tutorials on Generative Adversarial Networks. Then I found some starting code here. They essentially wanted to generate art as I did. Please give it a read as they go into the loss function details and provide more details on how it all works.
I started with utilizing the code there with my own images. I utilized some photos I took of roses. Here is a small sample:
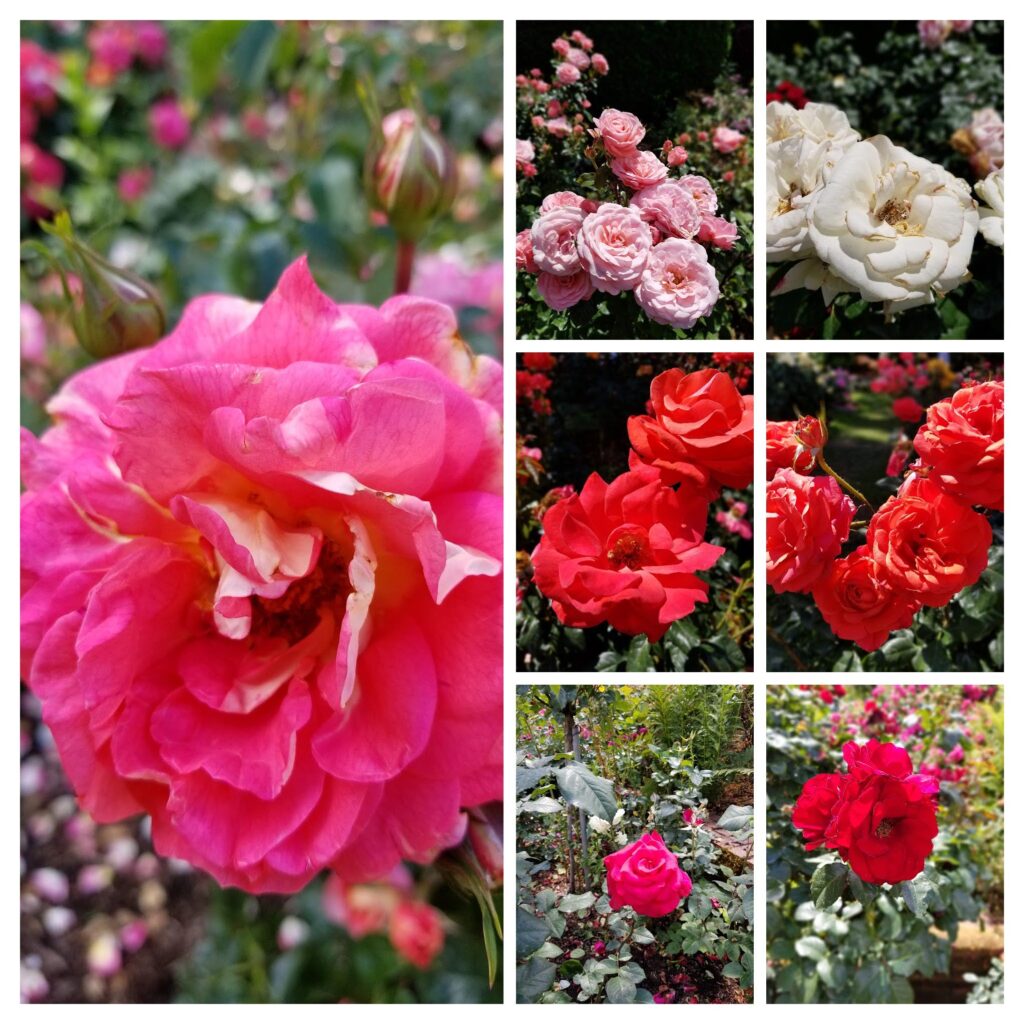
I initially left the original dimensions of the images so the size was not standardized in the input data. The input code automatically resizes (not crops) these images, so I was expecting some distortions and I let the code do its thing once I got it running on my Google Collab notebook. I initially just tried it for a few iterations to see what it would look like.
My first iteration looked interesting but not much like the input data. I liked it because it was very abstract. Note the dimensions are very small because the image generation process is very resource-intensive and the google collab notebook hits memory limits if I increase the size.
I got curious to see how it was building out the images so I generated an image on each iteration of the “learning” process to visualize what it looks like. I put the images together in animation so you can see the evolution of iterations. It kinda visually shows how the “convolution” layers work in the process. I only did 100 iterations for this image. Note I also cropped the original images so they were all the same dimensions and a square aspect ratio so that the code would only scale down the images and not distort or skew them.
This looks nothing like a flower but you can start to see its form. The variations in colors are the random generator applying random colors and over time, starting to discriminate more and more. The large color blob is focused in the middle due to the same thing in the sample data. Around it you see more striations of color due to the foliage in the original sample. I was surprised by how quickly these patterns are originally discriminated.
An important aspect to note is that in this code, the discriminator was left static and was not re-trained after each iteration. When reviewing the output data, the accuracy of the discriminator was not steadily increasing, it was either very accurate or not accurate at all, and the generator at times would show a significantly high accuracy despite the image not looking very flowery.
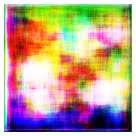
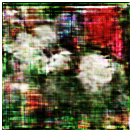
So I decided to see if the issue was related to # of iterations. I started to increase the number of iterations and didn’t notice a significant difference in the image. I then decided to make the discriminator trainable despite the article indicating that I shouldn’t. At this point, I started noticing more significant variations in the images. After making the discriminator trainable, here is what an image looks like after 1000 iterations.
As you can see, this looks a lot more like the sample data! You can see some leaves, some foliage, different colored roses. There are some areas that look unnaturally out of focus near the center and the edges look pixelated but in general, it looks like a few red and white roses. Here is the animation of the 1000 iterates that result in the above image.
Over time you can start to see the flower forming, some individual petals starting to form. You can also see the ai drawing out the leaves/foliage in the background, attempting to emulate the sample data. The images are still a bit pixilated due to the limitation I mentioned earlier, but with enough computing power, they can match the original images in terms of quality.
The other observation in that you can see the convolution layers iterating around the image. Its most apparent in the beginning where you have the blob-like colors in the beginning which then shifts to grid-like variations in the image. Then this grid iterates and starts producing the distinct shape of the flowers which then evolves and iterates.
AI. doesn’t exactly draw like a human child might but it works similarly. It’s essentially utilizing trial and error to create an image that emulates what it’s seen before. This is done behind the scenes via equations that apply statistical weights to vectors whose output results in pixels on a screen. The “learning” is the weighting which is the equivalent to biases of “nurturing”. The discriminator is the parent/social group telling it what’s right and what’s wrong. I can’t quite think of a metaphor for the loss functions and the gradient descent beyond the genetic limitations imposed upon us.
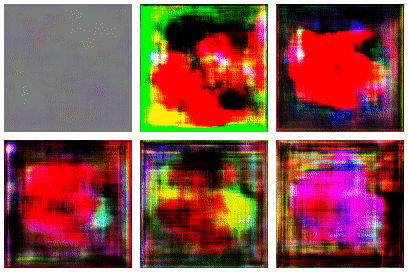
If you’re interested in the full generated data set. Here is what it looks like. If you have any suggestions to improve my images, please leave them in the comments below!
Leave a Reply