Hello All,
It’s been a while since my last post but I’ve decided to finally make some time to get some blogging done.
This time I will be discussing a product that started out as a kickstarter campaign. This campaign reached its funding goal and surpassed it over 11 times.
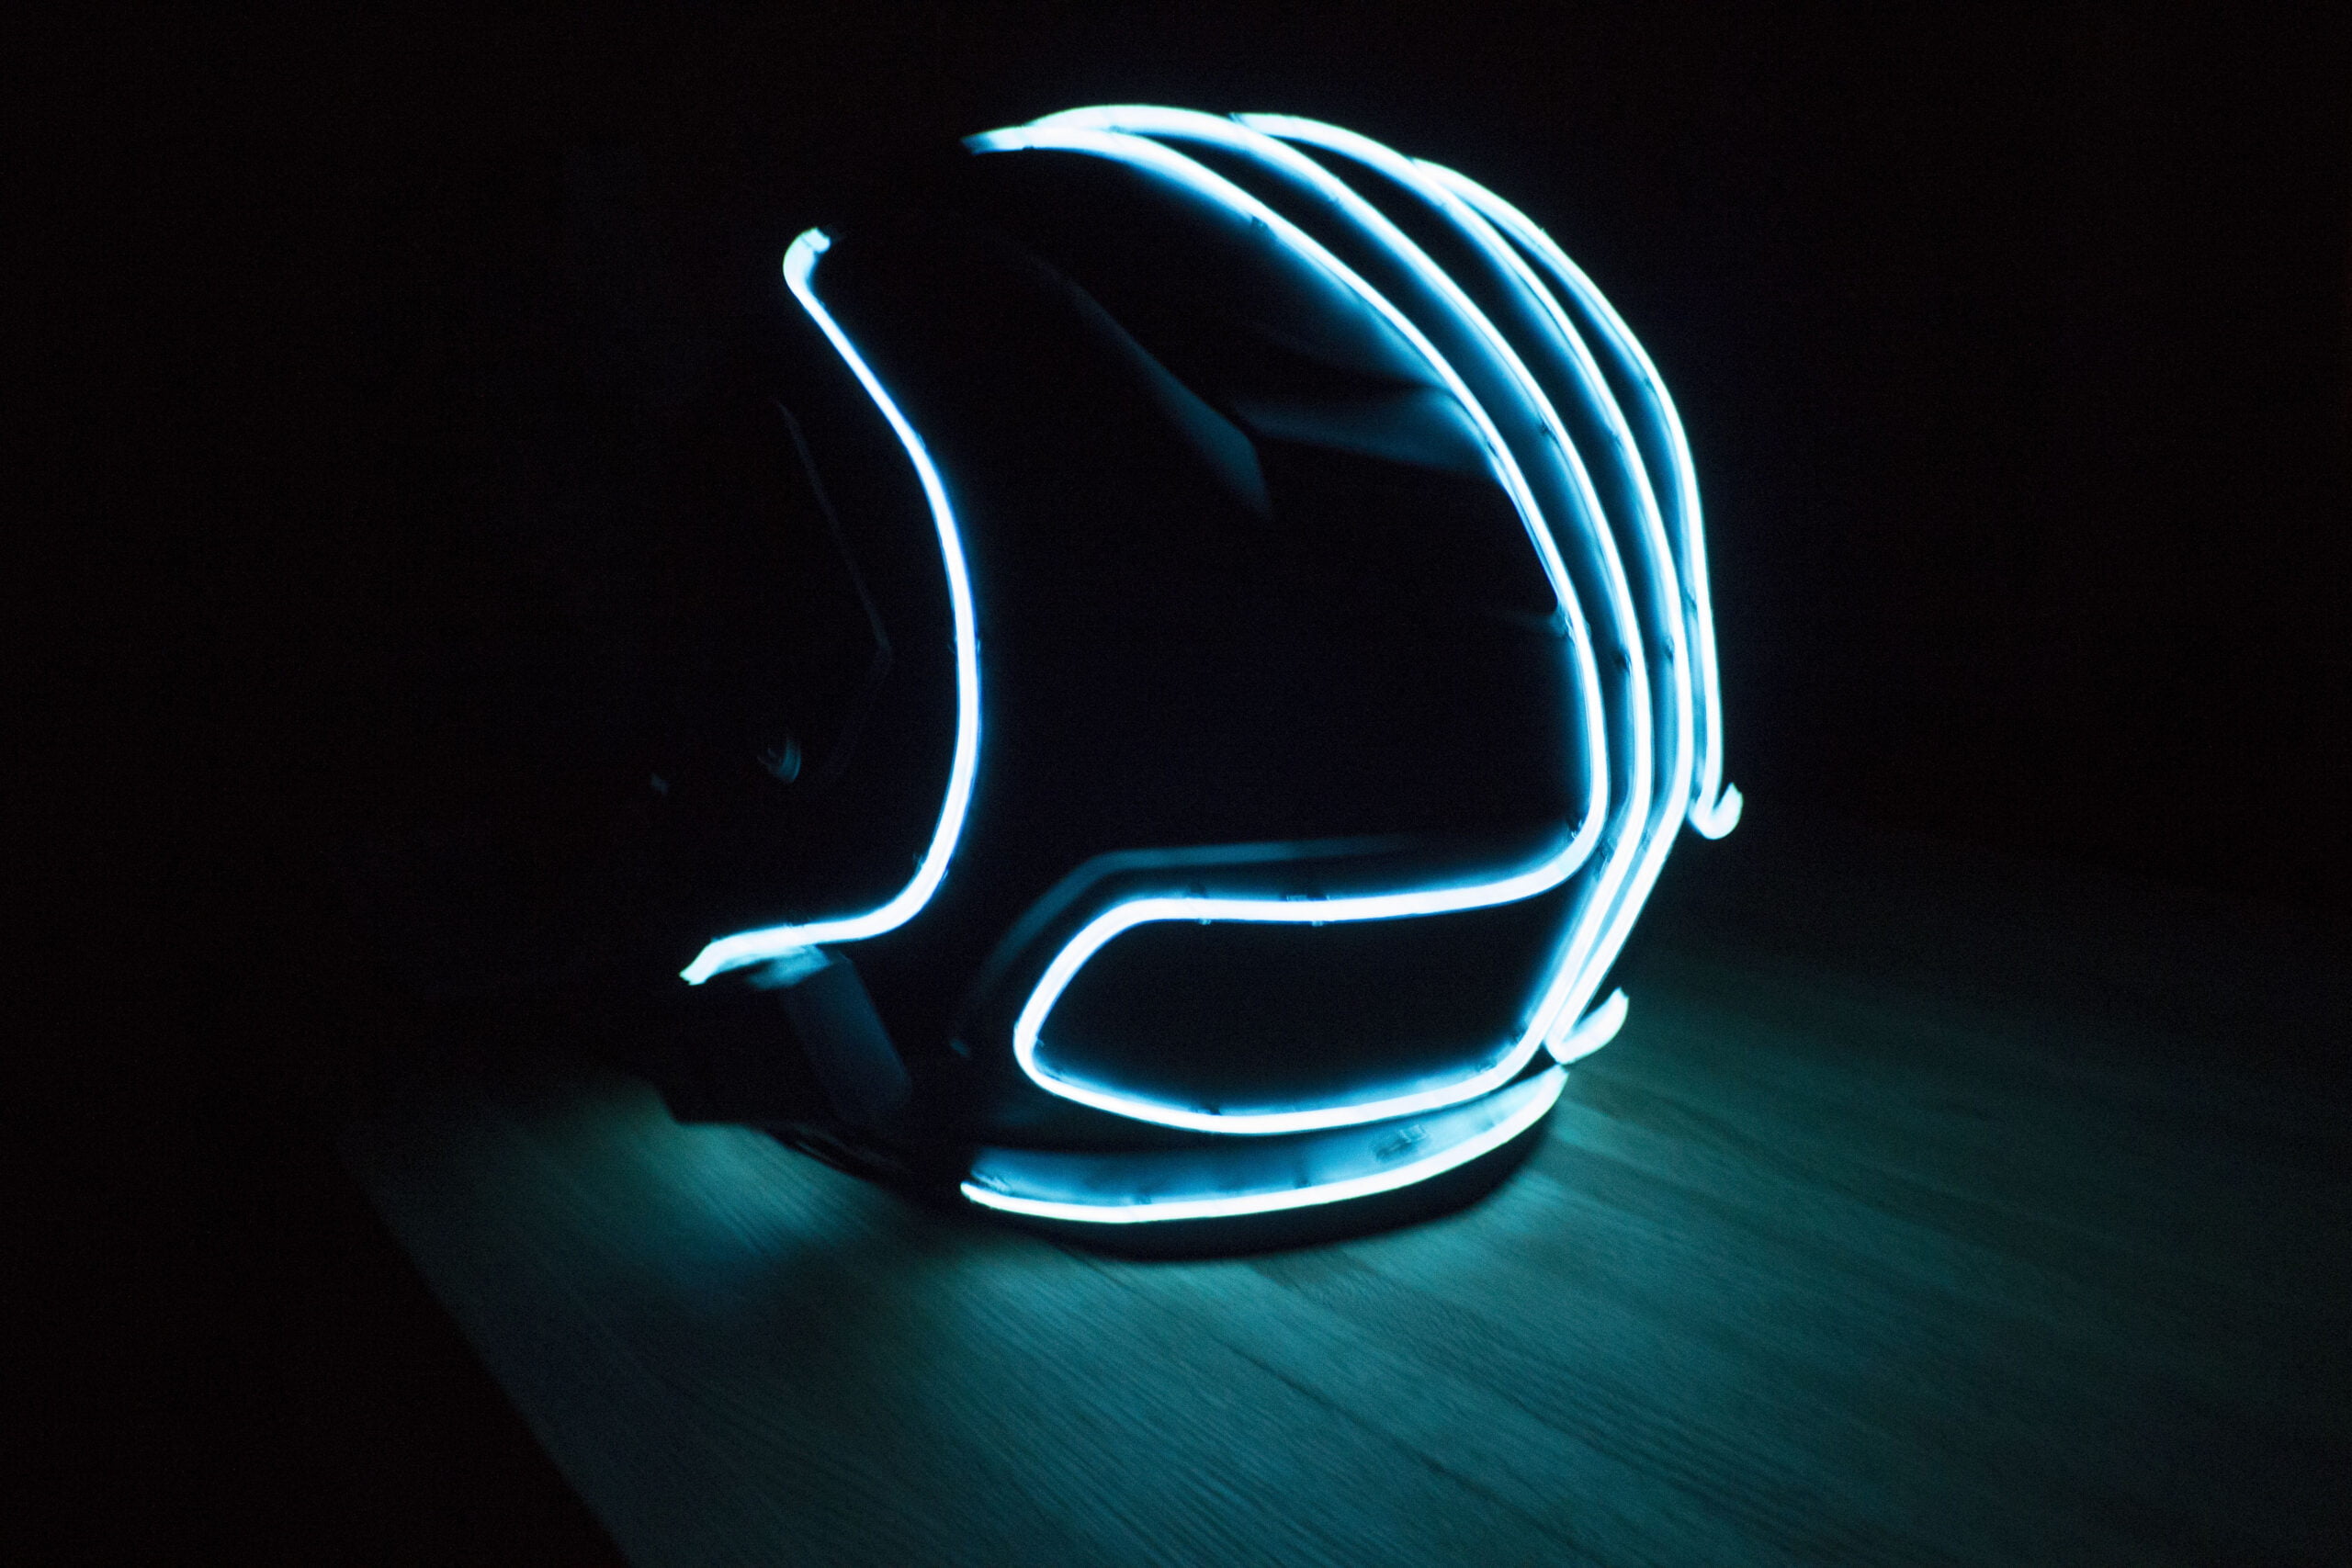
Meet LightMode Helments. This company provides kits and helmets that are illuminated. The technology uses electroluminescent wire that lights up when a current runs through it.
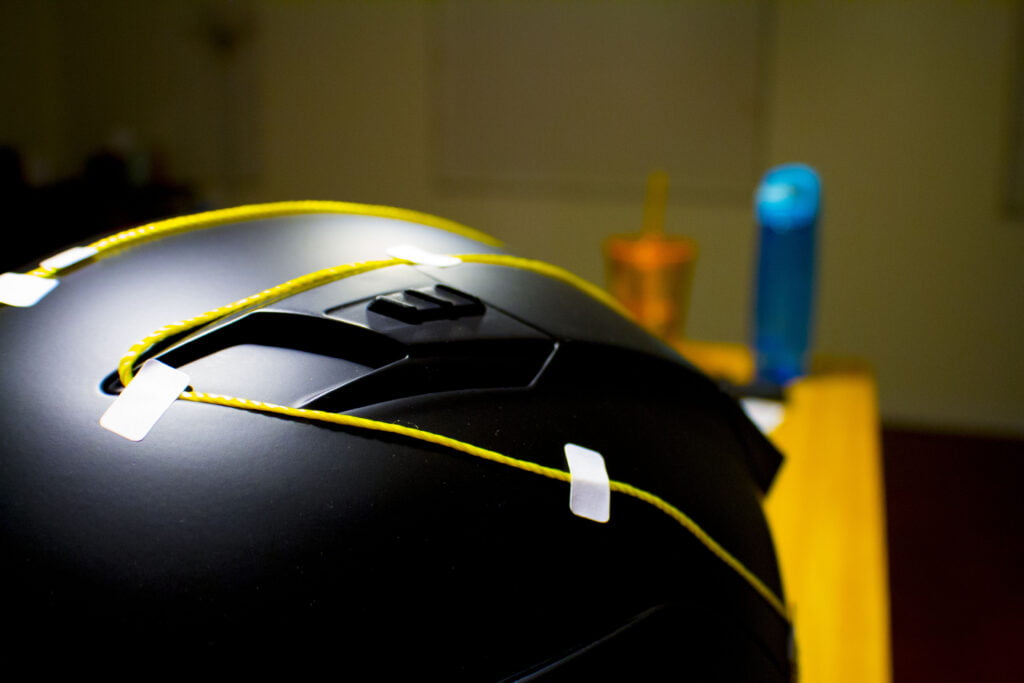
I didn’t want to buy new helmet, so I ordered their modification kit for $72. The modification kit came with the following: 3m of string, 3m of EL wire, stickers, a micro-controller, glue, and accelerant.
The kit arrived a month after the campaign was funded and I cranked out the design and implementation in 6 hrs after work.
First step. Create your design. The kit came with some string and some stickers. The stickers were designed to hold both the string and the EL wire in place. They also acted as placeholders for glue points.
Second Step. Glue the EL wire to the helmet and apply an accelerator. The accelerator allows for quick drying (3 seconds). The glue was specifically selected to handle weather to make sure that the wire wouldn’t fly off the helmet while cruising down the highway. Turn off the lights, insert batteries, and you have your finished product.

Yes the helmet looks cool, but it also makes you more visible at night. The extra light above your usual headlight elevation is what specifically helps other vehicles on the road identify that you are on a motorcycle.
So far I’ve gotten quite a few looks from pedestrians and drivers alike which indicates that it’s doing its job for now.
NOTE: The EL Wire is Permanent. So please don’t glue this on your $1,000+ helmet and regret it later.
Leave a Reply